

Getting Started with Gravity Forms: A Step-by-Step Guide to Building Professional WordPress Forms
Introduction
Whether you’re creating a simple contact form or a more advanced lead capture solution, Gravity Forms is one of the most powerful form builders available for WordPress. It provides a flexible, user-friendly interface while offering advanced functionality for developers and site owners alike.
In this guide, I’ll walk through the process of creating your first Gravity Form, configuring notifications, preventing spam, and applying best practices for production websites.
Prerequisites
Before you begin, ensure you have:
- A working WordPress website
- Gravity Forms installed and activated
- Administrator access to your WordPress dashboard
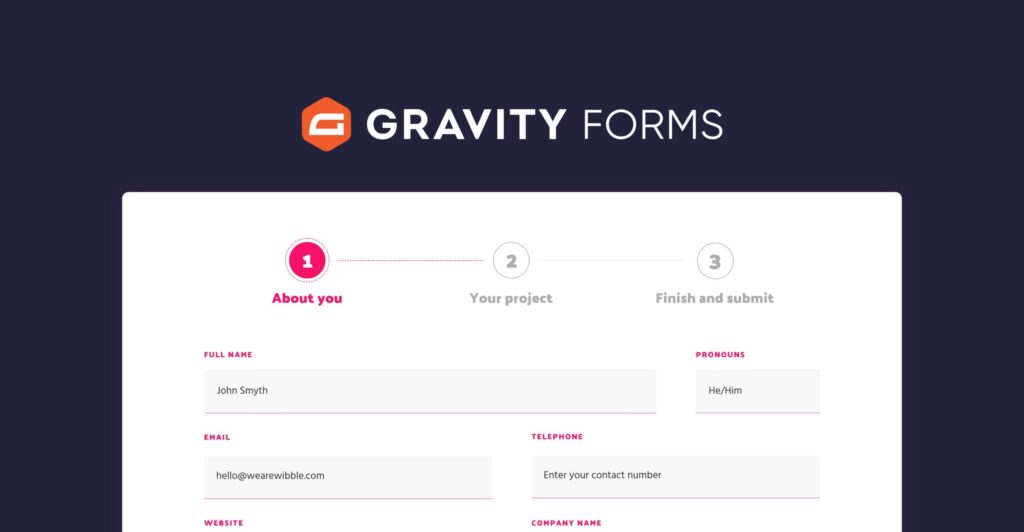
Step 1: Create Your First Form
Navigate to:
Forms → New Form
Enter:
- Form Title
- Optional Description
Click Create Form.
Gravity Forms opens the drag-and-drop form editor.
Step 2: Add Form Fields
Gravity Forms provides several categories of fields, including:
Standard Fields
- Single Line Text
- Paragraph Text
- Phone
- Website
- Number
Advanced Fields
- Name
- Address
- Date
- Time
- File Upload
- Hidden Field
Pricing Fields
- Product
- Quantity
- Option
- Total
Simply drag fields into the form layout.
Step 3: Configure Required Fields
Select any field.
Enable:
Required
This prevents users from submitting incomplete forms.
You can also configure:
- Placeholder text
- Field labels
- Descriptions
- Maximum character limits
- Default values
Step 4: Configure Email Notifications
One of Gravity Forms’ strongest features is automated notifications.
Go to:
Settings → Notifications
Create:
Admin Notification
Recipient:
Purpose:
Receive every form submission.
User Confirmation Email
Recipient:
Use the Email field from the submitted form.
Purpose:
Automatically acknowledge the submission.
Include useful information such as:
- Thank-you message
- Submission summary
- Expected response time
Step 5: Configure Confirmation Messages
Navigate to:
Settings → Confirmations
Choose one of the following:
- Display a confirmation message
- Redirect to another page
- Redirect to an external URL
For example:
Thank you for contacting us. Your message has been received successfully. We will respond as soon as possible.
Step 6: Enable Spam Protection
Every public form should include spam protection.
Gravity Forms supports several methods including:
- Google reCAPTCHA
- Honeypot protection
- Akismet integration (when applicable)
These options help reduce automated submissions while maintaining a smooth user experience.
Step 7: Publish the Form
There are multiple ways to display your form.
Using the Gravity Forms Block
In the WordPress Block Editor:
- Add the Gravity Forms block
- Select your form
- Publish
Using the Shortcode
Insert the generated shortcode anywhere on your website.
Step 8: Test the Form
Before publishing, always test:
- Required fields
- Email notifications
- Confirmation messages
- Mobile responsiveness
- Spam protection
- File uploads (if enabled)
Testing helps identify issues before visitors encounter them.
Common Troubleshooting Tips
Emails Are Not Being Delivered
Possible causes include:
- Hosting email restrictions
- DNS configuration
- SMTP not configured
Using a dedicated SMTP solution often improves email reliability.
Form Styling Looks Incorrect
Possible causes:
- Theme CSS conflicts
- Third-party plugin conflicts
- Custom CSS overrides
Testing with a default WordPress theme can help isolate styling issues.
Conditional Logic Is Not Working
Verify that:
- Correct fields are referenced
- Matching values are used
- JavaScript is not being blocked by another plugin or theme
Plugin Conflicts
If unexpected behavior occurs:
- Create a staging environment.
- Switch temporarily to a default WordPress theme.
- Disable plugins one at a time.
- Re-test after each change.
This systematic approach helps identify the source of the conflict.
Best Practices
- Keep Gravity Forms updated.
- Keep WordPress core updated.
- Back up your website before major changes.
- Test changes in a staging environment.
- Remove unused forms.
- Enable spam protection.
- Review notifications periodically.
- Use meaningful field labels for accessibility and usability.
Conclusion
Gravity Forms makes it possible to build everything from simple contact forms to sophisticated business workflows without sacrificing flexibility. By combining thoughtful form design, proper testing, and regular maintenance, you can provide users with a reliable experience while making administration straightforward.
Whether you’re collecting enquiries, registrations, quotations, or customer feedback, following these practices will help you get the most out of Gravity Forms on your WordPress website.